Table of Contents
ToggleA slow-draining shower isn’t just annoying, it’s a warning sign. Standing water around your ankles mid-shower means hair, soap scum, and biofilm are building up in the drainpipe. Left unchecked, that buildup turns into a stubborn clog that’ll cost you time, money, or a plumber’s callout fee. The good news? Most shower drain problems can be fixed with tools you already own and about 30 minutes of work. This guide walks through exactly how to clean a shower drain, from surface debris to the gunk lurking deeper in the P-trap, plus prevention strategies to keep water flowing freely.
Key Takeaways
- Hair, soap scum, and biofilm are the main culprits behind slow shower drains, and regular cleaning every 1–2 months prevents stubborn clogs.
- The baking soda and vinegar treatment is a non-toxic, natural method that breaks down grease and organic buildup in minutes without damaging pipes.
- Installing a drain strainer or hair catcher prevents 90% of clogs by trapping debris before it enters the pipe, requiring only five seconds of weekly maintenance.
- Most shower drain problems can be fixed with basic tools and manual removal techniques that clear 70–80% of typical blockages without chemicals.
- Weekly boiling water flushes and monthly preventive baking soda treatments keep your drain clean and flowing freely between deep cleanings.
Why Your Shower Drain Needs Regular Cleaning
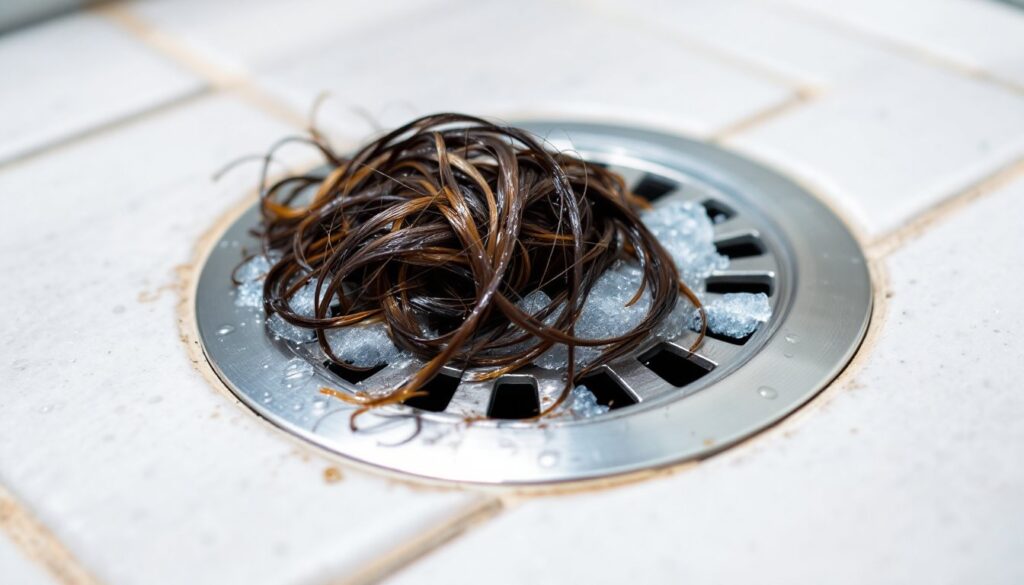
Hair is the main culprit. A single shower session can shed 50–100 strands, and when combined with soap residue and body oils, those strands form clumps that cling to pipe walls. Over time, this creates a mat that traps more debris and restricts water flow.
Soap scum accelerates the problem. Traditional bar soaps contain fats that bind with minerals in hard water, leaving a sticky film inside drainpipes. That film acts like flypaper for hair and dead skin cells.
Biofilm, a slimy layer of bacteria and organic matter, thrives in the moist, dark environment of a drainpipe. It smells foul and narrows the pipe diameter, even if you don’t see a visible clog. Regular cleaning prevents this buildup from hardening into a blockage that requires chemical drain cleaners or a plumber’s snake.
Most homeowners should clean shower drains every 1–2 months as preventive maintenance. If you have long hair or multiple people using the same shower, monthly cleanings are smart. Ignoring the drain until water pools at your feet usually means you’re dealing with a more stubborn blockage.
Tools and Supplies You’ll Need
Gather these items before starting. You won’t need all of them for every job, but having them on hand saves trips to the hardware store mid-project.
Basic Tools:
- Screwdriver (flathead or Phillips, depending on drain cover screws)
- Needle-nose pliers or a zip-it drain tool (plastic barbed strip designed to hook hair)
- Flashlight to see down the drain opening
- Bucket or old towel to catch debris and water
- Wire brush or an old toothbrush for scrubbing the drain cover
Cleaning Supplies:
- Baking soda (½ cup)
- White vinegar (1 cup)
- Boiling water (kettle or pot, about 1–2 quarts)
- Dish soap (a few drops)
- Rubber gloves to protect your hands from gunk
Optional (for Stubborn Clogs):
- Manual drain snake (also called a drum auger, typically 15–25 feet)
- Wet/dry vacuum if you need extra suction power
- Enzymatic drain cleaner (safer for pipes than caustic chemicals)
Safety Gear:
- Rubber gloves are non-negotiable, drain gunk is nasty.
- Safety goggles if you’re using a drain snake or dealing with pressurized water.
Avoid chemical drain cleaners like sodium hydroxide-based products unless absolutely necessary. They can damage PVC and older metal pipes, and they’re hazardous if misused.
Step-by-Step Guide to Cleaning Your Shower Drain
Remove the Drain Cover and Debris
1. Remove the drain cover.
Most shower drains have a screw-on or snap-in cover. Use a flathead or Phillips screwdriver to remove the center screw if present. If it’s a snap-in cover, gently pry it up with a flathead screwdriver. Place screws in a safe spot so they don’t fall down the drain.
2. Pull out visible debris.
Shine a flashlight into the drain opening. You’ll likely see a clump of hair and soap scum within the first few inches. Put on rubber gloves and use needle-nose pliers or a zip-it tool to hook and pull out the gunk. A zip-it tool (a thin plastic strip with barbed edges) works especially well, insert it into the drain, twist slightly, and pull straight up. Expect a disgusting haul. Drop debris into a bucket or onto an old towel for disposal.
3. Clean the drain cover.
Scrub the cover with a wire brush or old toothbrush and hot, soapy water. Soap scum and mineral deposits often cake onto the cover’s underside. Rinse thoroughly and set aside to dry.
4. Check the drain opening.
Wipe down the visible edges of the drain pipe with a damp rag to remove surface slime. This won’t fix deep clogs, but it improves water flow immediately. Homeowners dealing with persistent slow drainage often see results after basic manual removal techniques, which can clear 70–80% of typical blockages without chemicals.
Deep Clean with Natural Solutions
5. Flush with boiling water.
Boil 1–2 quarts of water in a kettle or pot. Carefully pour it directly down the drain in a steady stream. Boiling water melts soap scum and loosens biofilm. If you have PVC drainpipes, let the water cool slightly (to around 180–190°F) to avoid potential pipe warping, though modern PVC is rated for higher temps, it’s a safe precaution.
6. Apply the baking soda and vinegar treatment.
Pour ½ cup of baking soda down the drain, pushing it as far into the opening as possible. Follow immediately with 1 cup of white vinegar. You’ll hear fizzing, that’s the chemical reaction breaking down organic matter and grease. Let the mixture sit for 15–20 minutes. Cover the drain opening with a wet rag or stopper to keep the reaction concentrated in the pipe.
7. Flush again with boiling water.
After the wait, pour another round of boiling water down the drain to rinse away loosened debris. This step is critical, it carries the broken-down material out of the P-trap and into the main drain line.
8. Optional: Use an enzymatic cleaner for stubborn buildup.
If the drain is still sluggish, consider an enzymatic drain cleaner like Bio-Clean or Green Gobbler. These products use natural bacteria and enzymes to digest hair, grease, and soap scum over several hours. Follow label instructions, most require an overnight soak. They’re safer for pipes than caustic chemicals and won’t harm septic systems. Many cleaning experts recommend natural cleaning methods for regular maintenance, reserving harsher treatments only for severe blockages.
9. Snake the drain if water still won’t flow.
For clogs deeper than arm’s reach, use a manual drain snake. Feed the cable into the drain until you hit resistance, then crank the handle clockwise to break up or hook the clog. Pull the snake out slowly, expect more hair and gunk. Run hot water for a few minutes afterward to clear residue. If you’ve never used a drain snake, go slow: forcing it can scratch pipes or push the clog deeper.
Preventing Future Clogs and Buildup
Install a drain strainer or hair catcher.
A stainless steel mesh strainer or silicone hair catcher sits over the drain opening and traps hair before it enters the pipe. Clean it out after every few showers, it takes five seconds and prevents 90% of clogs. Models with fine mesh (around 1–2 mm openings) work best.
Flush with hot water weekly.
Once a week, pour a kettle of boiling water down the drain after your last shower of the day. This simple habit melts soap scum before it hardens and keeps biofilm from establishing.
Switch to liquid soap.
Bar soaps leave more residue than liquid body wash or shower gel. If hard water is an issue in your area, the switch can significantly reduce scum buildup. You’ll notice less film on shower walls and drain pipes.
Brush out hair before showering.
Encourage household members (especially those with long hair) to brush their hair before stepping into the shower. This removes loose strands that would otherwise wash down the drain.
Monthly baking soda treatments.
Even with a strainer, run the baking soda and vinegar treatment once a month as preventive maintenance. It’s cheap, non-toxic, and keeps pipes clear. For households managing multiple maintenance tasks, creating a routine helps, many homeowners pair drain care with other monthly chores found on resources like home care schedules.
Avoid pouring grease or oils down the drain.
Hair conditioner, body oils, and shaving cream all contribute to sticky buildup. While you can’t eliminate them entirely, minimize how much goes down the drain. Wipe excess product off your hands with a towel before rinsing.
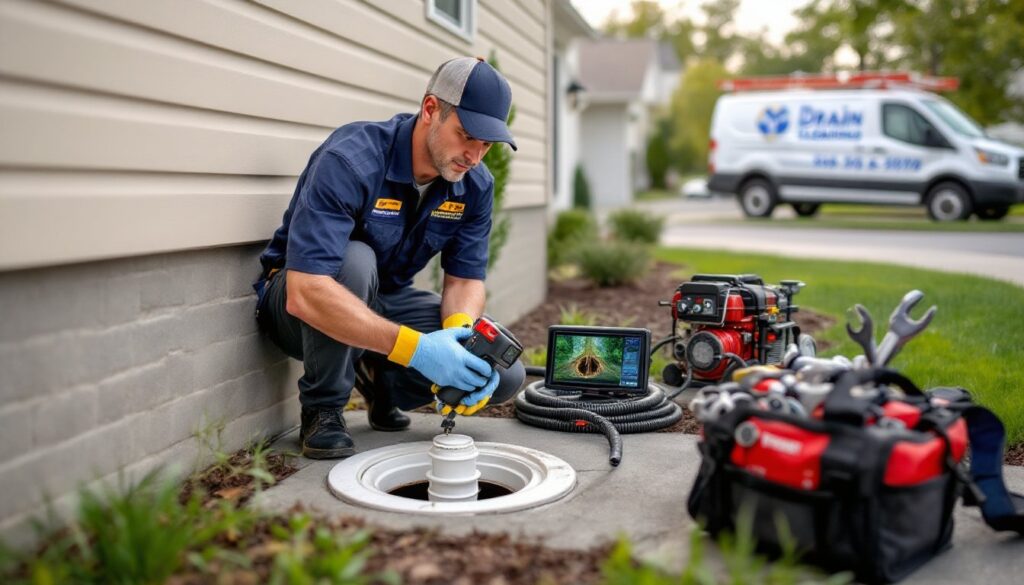
Know when to call a pro.
If you’ve tried manual removal, natural cleaners, and a drain snake, but water still backs up, the clog may be in the main drain line or the vent stack. That’s a job for a licensed plumber. Persistent backups can also signal a venting issue or a damaged pipe, both of which require professional diagnosis.
Conclusion
Cleaning a shower drain doesn’t require harsh chemicals or a plumber’s invoice. With basic tools, a little elbow grease, and a monthly maintenance routine, homeowners can keep drains flowing freely and avoid the frustration of standing water. Pull out debris by hand, flush with natural solutions, and use a strainer to catch hair before it becomes a problem. Your shower, and your Saturday mornings, will thank you.